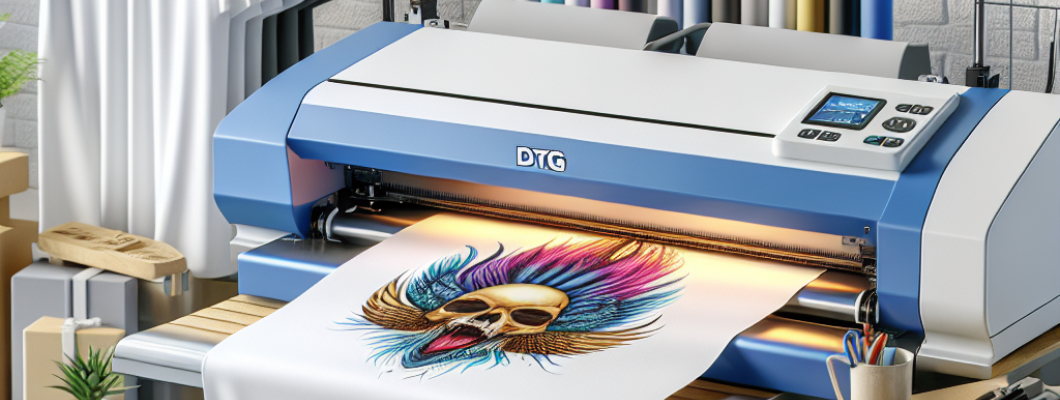
How to Print on Dark Fabrics with DTG: What You Need to Know

How to Print on Dark Fabrics with DTG: What You Need to Know
Printing directly onto dark fabrics using Direct-to-Garment (DTG) technology can seem challenging at first, but with the right techniques and preparations, you can achieve vibrant, professional-quality results. Whether you're producing custom t-shirts, hoodies, or other textile products, understanding the nuances of printing on darker materials is essential to making your designs stand out. In this guide, we'll explore the key steps, tips, and best practices to help you master the art of DTG printing on dark fabrics

Understanding the Challenges of Printing on Dark Fabrics
Most beginners encounter issues such as dull colors, poor adhesion, or cracking when attempting to print on dark textiles. The primary reason is that dark fabrics require more pigment deposit to produce visible, vibrant images. Unlike printing on light-colored materials, where the ink is transparent enough to allow the fabric color to show through, printing on dark fabrics demands an opaque white base layer and a meticulous process to ensure durability and vibrancy .
Preparation Is Key: Choosing the Right Fabrics and Inks
Before diving into printing, selecting the appropriate fabric and inks can significantly influence your results. Opt for 100% cotton or blends that are compatible with DTG printing, as these fabrics absorb ink better and result in sharper images. Make sure the fabric is clean, free of wrinkles, and properly pre-treated to ensure ink adhesion. Using high-quality, opaque white ink for the underbase is crucial—it acts as the foundation that makes your colors pop against dark backgrounds . For inks, always choose UV-resistant, eco-friendly pigments designed for fabric printing to enhance durability.
Pre-Treatment of Dark Fabrics
One of the most critical steps in printing on dark garments is pre-treatment. Applying a specialized pre-treatment solution creates a receptive surface, allowing the ink to adhere smoothly and preventing issues like cracking or peeling over time. Spray or use a pre-treatment machine to evenly coat the entire printable area, then cure it with a heat press at approximately 320°F (160°C) for 30 seconds. Proper pre-treatment ensures vibrant colors, sharp detail, and longer-lasting prints .
Design Preparation and Color Management
Creating a design suitable for dark fabric printing involves ensuring that the white underbase is properly layered for opacity and vibrancy. Use design software to separate and prepare your colors, emphasizing the importance of white for light areas. Consider increasing the opacity of white layers to guarantee they cover the fabric entirely. Also, test your colors on sample fabrics to check how they appear post-curing, as this can help prevent surprises in the final product . Maintaining consistent color profiles and using high-resolution images will further improve your outcomes.
Printing Process: Step-by-Step
- Load the garment: Position the pre-treated fabric securely on the platen, ensuring no wrinkles or shifting occurs.
- Print the white underbase: Select the white ink layer, and print the underbase with a focus on even coverage, especially in detailed areas.
- Print the color layers: Once the white layer is cured or dried, proceed with your colored layers. Use appropriate print settings for optimal opacity and sharpness.
- Post-print curing: Cure the print using a heat press or industrial dryer at recommended temperatures to set the ink completely. Proper curing enhances durability and prevents cracking .
Final Tips for Perfect Results
Consistency is key when printing on dark fabrics. Always perform test prints before batching large orders. Regularly clean and maintain your DTG printer, including nozzles and print heads, to prevent clogging and achieve consistent ink flow. Invest in high-quality pre-treatment solutions tailored for dark fabrics, and diligently follow curing instructions for maximum longevity of the print. Additionally, educating yourself on color management, including ink layer densities and print speeds, will help you fine-tune your process for professional results .
Advantages of Using a High-Quality DTG Printer
For those serious about textile printing, investing in a robust DTG printer can make all the difference. Consider the A3 DTG Printer, which offers precise printing capabilities, vibrant colors, and compatibility with various fabric types. A reliable machine reduces downtime, improves print consistency, and ultimately provides higher quality outputs, especially on dark fabrics where precision is paramount .
Conclusion
Printing on dark fabrics with DTG technology opens up endless creative possibilities but requires attention to detail at every step—from fabric selection and pre-treatment to printing and curing. By understanding the importance of opaque white underbases, proper equipment, and careful design preparation, you can deliver stunning, durable prints that truly stand out. Whether you're a small business owner or a hobbyist, mastering these techniques will elevate your textile printing to new heights and help you meet your customers' expectations with confidence. Start experimenting today, and soon you'll be creating vibrant, professional-quality dark fabric prints with every batch .

Leave a Comment